Tiling, as any DIY enthusiast or professional handyman will tell you, is an art form that demands precision and care. It's not just about choosing the right tiles and arranging them in an aesthetically pleasing manner – it's about ensuring that those tiles remain steadfast for years to come. To truly master the art of precision in tiling, you need the right techniques, tools, and materials. And when it comes to materials, one brand stands out: SWADI. In this guide, we'll take you through the key steps to achieving perfect tiling, with a special emphasis on the importance of SWADI brand tile adhesive.
The foundation of any successful tiling project is careful planning. Before you even think about adhesive, take the time to measure your space, mark layout lines, and ensure that your surface is clean and level. A well-prepared surface is essential for precise tiling.
Selecting the right tiles is a crucial step. They come in various materials, sizes, and styles, so pick ones that suit your project. It's important to choose tiles that not only look good but also fit the purpose of the room. Once you've made your selection, lay them out dry on the surface to get a sense of how they'll fit together.
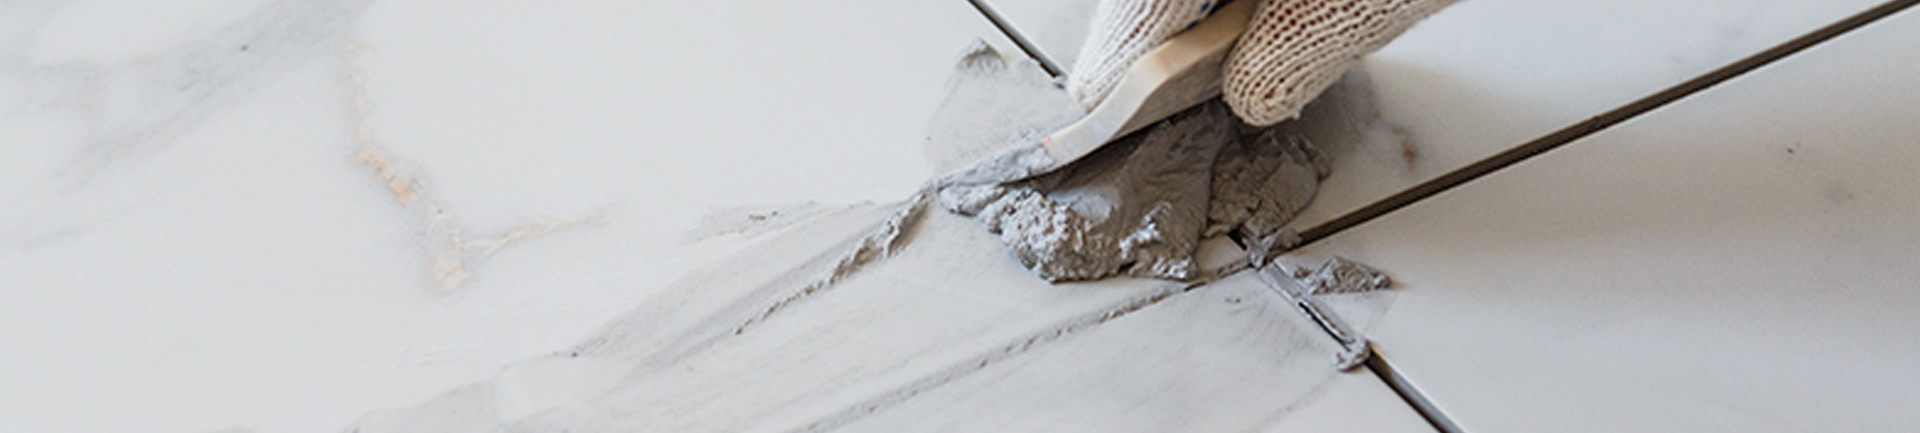
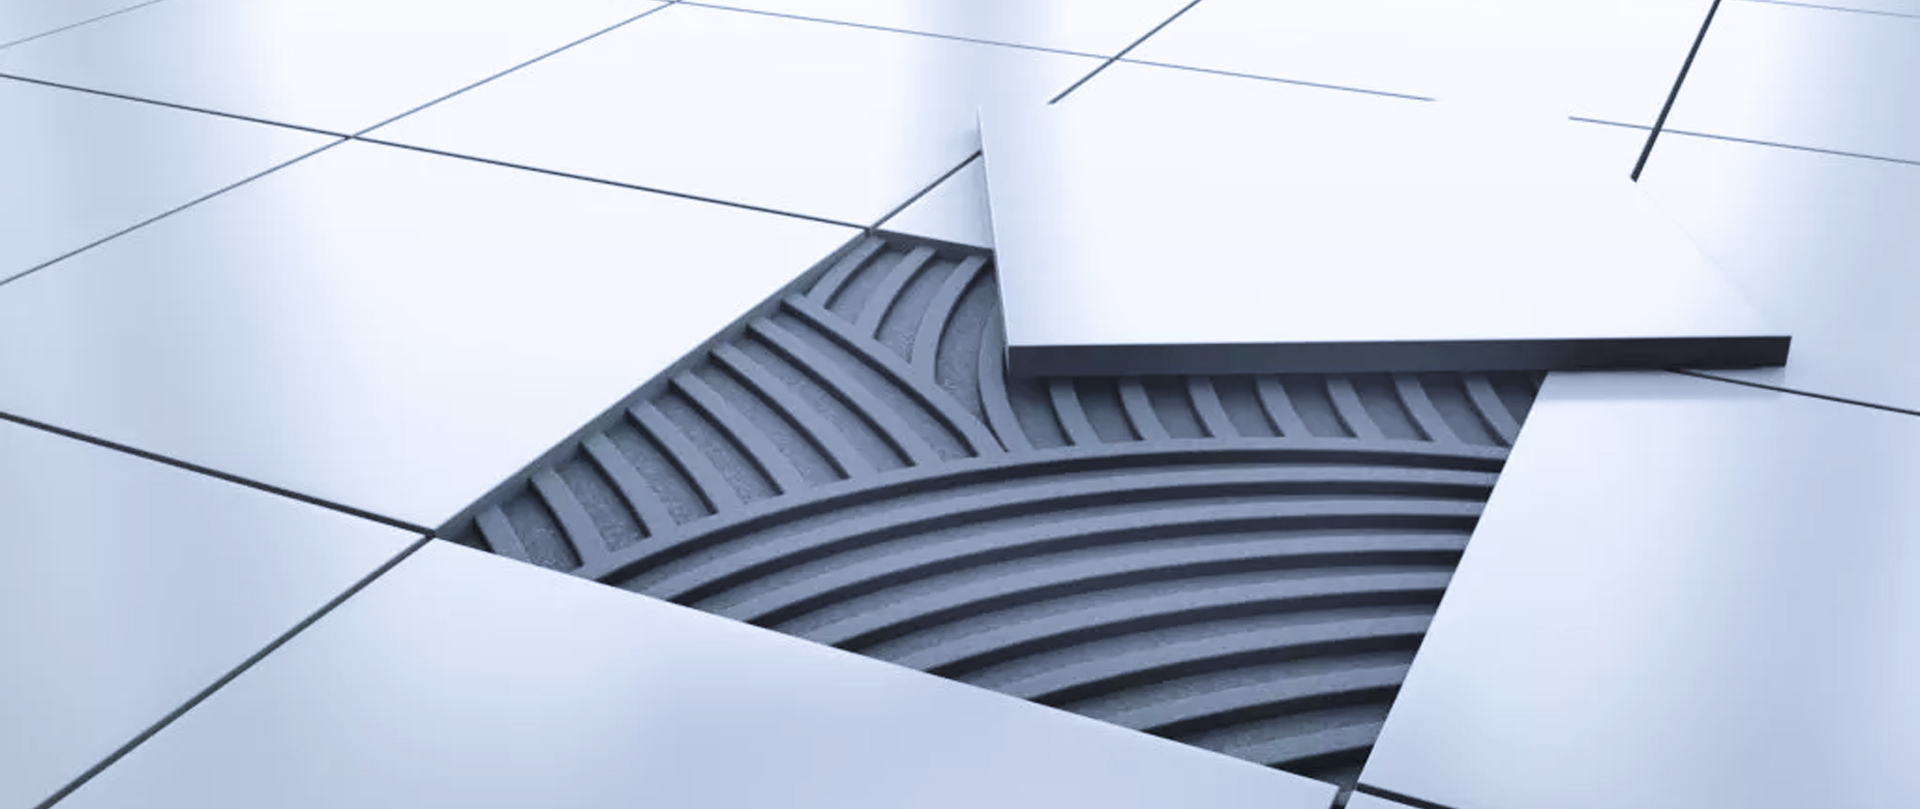
Now, let's talk about the hero of our tiling journey – SWADI brand tile adhesive. SWADI is renowned for producing high-quality, reliable adhesives that are trusted by professionals worldwide. When you want your tiles to stay in place for the long haul, SWADI is the name you can rely on.
Applying SWADI tile adhesive is straightforward. Start by mixing the adhesive according to the manufacturer's instructions. Then, apply it to the substrate using a notched trowel, ensuring an even layer. Place your tiles into the adhesive and press them firmly into place. Use spacers to maintain consistent spacing between tiles.
Once your tiles are in position and the adhesive has dried, it's time to grout the spaces between them. Grout not only enhances the aesthetics of your tiling but also prevents water and debris from getting under the tiles. After the grout has dried, seal it with a quality grout sealer for added protection.
With your tiles securely in place and looking fantastic, complete your tiling project with finishing touches. Install any necessary trims, edge pieces, or molding to give your project a professional appearance.
In conclusion, achieving the art of precision in tiling involves careful planning, selecting the right tiles, and using top-notch materials like SWADI brand tile adhesive. SWADI's reputation for quality and reliability makes it a trusted choice for professionals and DIYers alike. With the right techniques and the right adhesive, you can ensure your tiling project stands the test of time, adding beauty and functionality to your living spaces. So, start your tiling project today with confidence, armed with the knowledge and the power of SWADI brand tile adhesive. Perfect tiling is well within your reach!